A portable dog water bottle has a simple job: carry fresh water and give your dog a clean place to drink. Keeping it that way takes more than a quick rinse at the end of a walk.
Water, warmth, and traces of saliva can leave a bottle looking clean while the drinking surface, cap, or seal still needs attention. The answer is not a cupboard full of specialist products. It is a short routine that reaches every surface and lets every part dry properly.
Before cleaning any bottle, check the maker’s care instructions. Materials, valves, coatings, and seals vary. If a product is marked dishwasher-safe, note whether that applies to the whole bottle or only certain removable parts. When the instructions differ from general advice, follow the instructions.
What you need
For routine cleaning, keep the kit uncomplicated:
- Mild, unscented dish soap
- Warm water
- A clean bottle brush or soft sponge
- A small detail brush for grooves and seals
- A clean drying rack or absorbent cloth
Avoid abrasive pads unless the manufacturer specifically recommends them. Scratches can make a surface harder to clean and can dull a finish. Strongly scented detergents are unnecessary, too; a lingering fragrance may make the bottle less appealing to a sensitive dog.
1. Empty it as soon as you are home
Do not leave yesterday’s water sealed inside the bottle until the next walk. Empty any remaining water, open the cap, and separate the removable components.
This first step matters because an open, empty bottle can begin drying. A closed bottle holds moisture in exactly the places that are easiest to overlook. If the design includes a bowl, drinking trough, valve, gasket, or straw, treat each water-contact surface as part of the bottle rather than as an accessory.
2. Take apart only what is designed to come apart
Remove the parts the manufacturer identifies as removable. Do not pry out a seal, valve, or hinge simply because it looks detachable. A damaged seal can turn a clean bottle into a leaking one.
Lay the pieces out in order. This makes small gaskets easier to keep track of and removes the temptation to reassemble the bottle while one part is still wet. It is also a useful moment to look for cracking, warping, trapped debris, or a seal that no longer sits evenly.
3. Wash every water-contact surface
Add a small amount of mild soap to warm water. Clean the reservoir with a bottle brush, paying attention to the shoulder and the area just below the opening. Wash the cap, drinking surface, threads, and removable pieces separately.
The most visible area is not always the one that needs the most work. Run a small brush around grooves, under the edge of a gasket, and through any channel that controls water flow. Move valves only in the way the product is designed to move; forcing a brush into a narrow mechanism can damage it.
If the bottle has a soft or squeezable body, support it while cleaning rather than folding or twisting it sharply. Good maintenance should preserve the shape and the seal, not test their limits.
4. Rinse until the water runs clear
Rinse each component thoroughly with clean water. Check corners and threaded areas for foam, then rinse again if needed. Soap residue is easy to miss on transparent or pale materials.
Hold small parts carefully over the basin or place them in a fine strainer while rinsing. Losing a gasket down the drain is a surprisingly efficient way to make a bottle unusable.
5. Dry it fully, with the bottle open
Set the bottle upside down at an angle so air can circulate through the opening. Place the cap and small components separately on a clean rack or cloth. Do not close the bottle for storage until every part is dry.
This is where many otherwise careful routines fall short. Washing removes residue; open-air drying keeps moisture from being sealed back inside. If the bottle still feels damp in a groove or beneath a removable seal, leave it apart for longer.
How often should you clean it?
A good everyday habit is to empty and rinse the bottle after each outing, then wash it properly after use rather than waiting for a smell or visible film. Clean it sooner when it has been left in a warm car, carried anything other than plain water, or collected dirt around the drinking surface.
For a bottle used only occasionally, wash and dry it before storage and check it again before the next trip. Dust can settle in an open bottle, while moisture can linger in one stored closed.
The same principle applies to the rest of a practical walking kit: gear is more likely to earn its place when it is easy to use, easy to inspect, and easy to reset for tomorrow. Our guide to choosing dog travel gear that actually gets used looks at that wider routine.
What not to do
Some cleaning shortcuts create new problems:
- Do not use boiling water by default. Heat can distort some plastics, silicone parts, adhesives, or seals. Use it only when the care instructions explicitly allow it.
- Do not reach automatically for bleach or harsh cleaners. The bottle’s manufacturer should specify whether sanitising is appropriate and at what dilution.
- Do not reassemble damp parts. A neat, closed bottle is not ready for storage if moisture is trapped inside.
- Do not ignore persistent odours, stains, or damage. Repeated washing cannot repair a cracked drinking surface or a seal that no longer fits.
- Do not pour used drinking water back into the reservoir unless the design specifically manages that flow. Keeping the clean supply separate from the drinking surface makes the routine easier to control.
When it is time to replace a part—or the bottle
Cleaning maintains a sound product; it does not make damaged gear sound again. Stop using the bottle if a component develops a sharp edge, the drinking surface cracks, a seal repeatedly leaks, or residue remains in an area you cannot safely reach.
Replaceable seals and simple assemblies can extend the useful life of well-designed gear. If spare parts are available, use the correct part rather than improvising with a similar-looking gasket. Fit matters wherever water pressure and leakage are involved.
Design can make cleaning easier
The easiest bottle to keep clean is one that lets you see and reach the surfaces that touch water. A wide opening gives a brush room to move. Fewer loose components mean fewer pieces to misplace. Clear care instructions make it obvious what can be removed and how it should be dried.
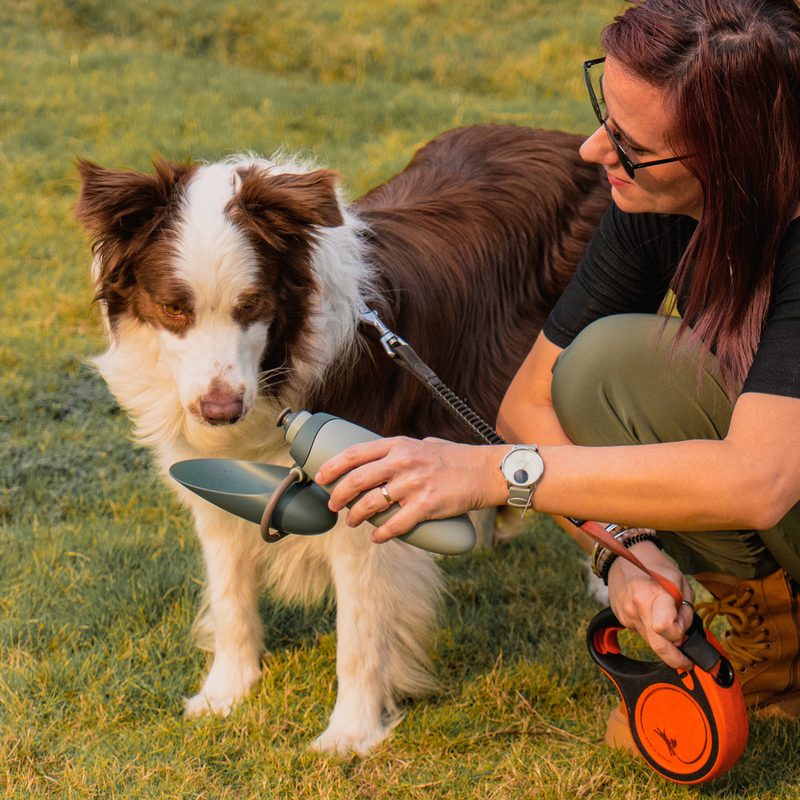
These are quiet design decisions, but they shape whether a bottle remains part of the daily routine. Otto’s wide opening and single-piece rotating bowl were designed with that everyday reset in mind: refill, use, clean, dry, repeat.
Good gear should be ready when the leash comes off its hook. Clean it when you return, leave it open to dry, and the next walk begins with one less thing to think about.